Administration of list views
Within the list views nearly every detail of each data record can be displayed. The default columns can be expanded or replaced by additional columns. With a right click on the column header a menu appears where the column chooser can be selected from. The appearing columns can be put to the list by drag&drop at this place where they should be displayed. Columns that are not needed can be deleted from the list by simply dragging them out of the header.
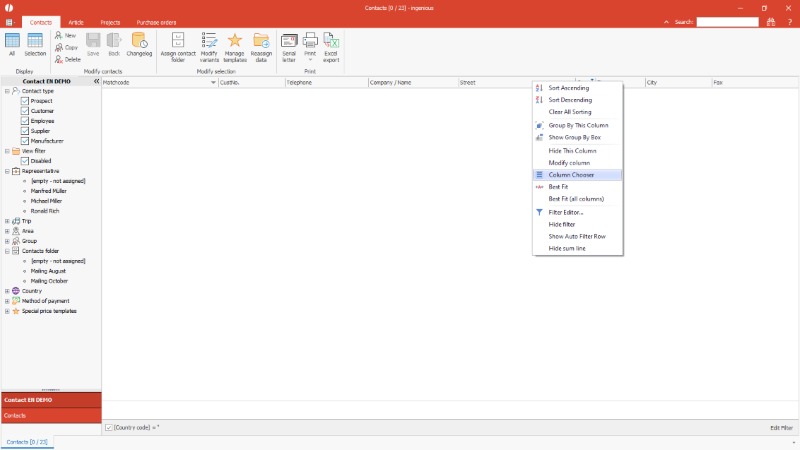 |
| Select column chooser in contacts list view |
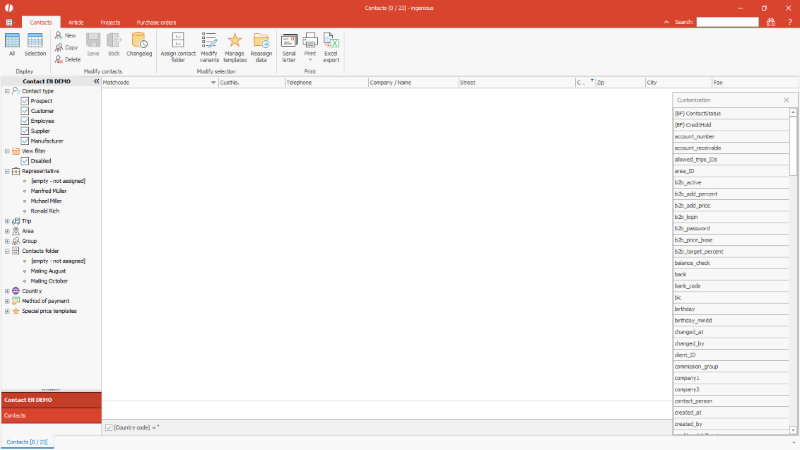 |
| Column chooser in contacts list view |
For changing the font type, line hight or to define which user should be able to display the list view, it can be modified.
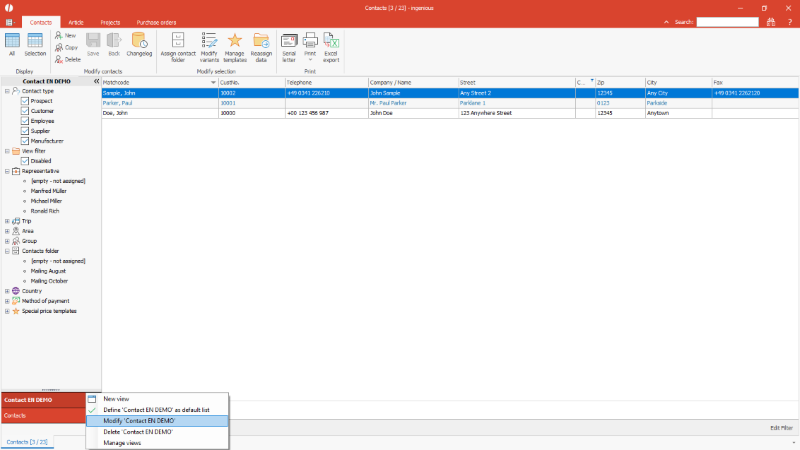 |
| Modify contact list view |
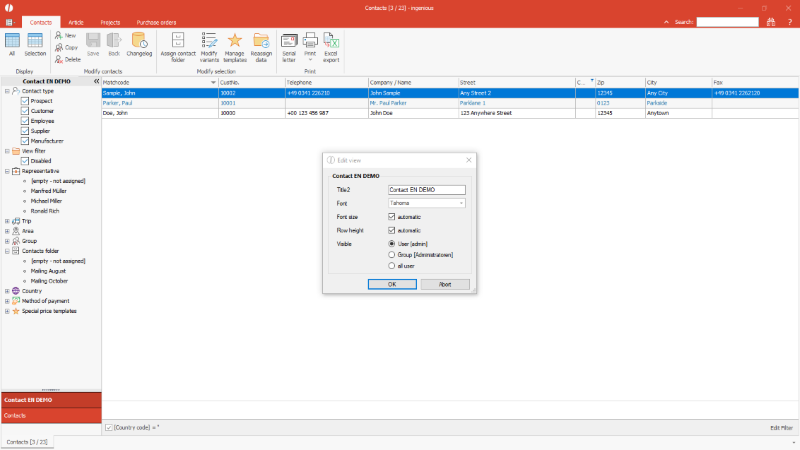 |
| Modify contact list view |
A new list view can be created with right click in the selection area. The list view can freely be named. A new list view contains the default columns and default format but can individually be changed.
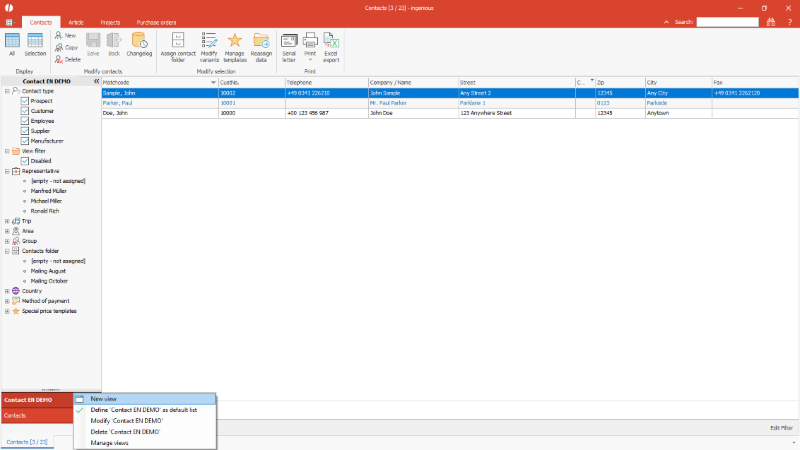 |
| Create new list view |
Also with right click on a list view it can be defined which view should be the default one when opening the module.
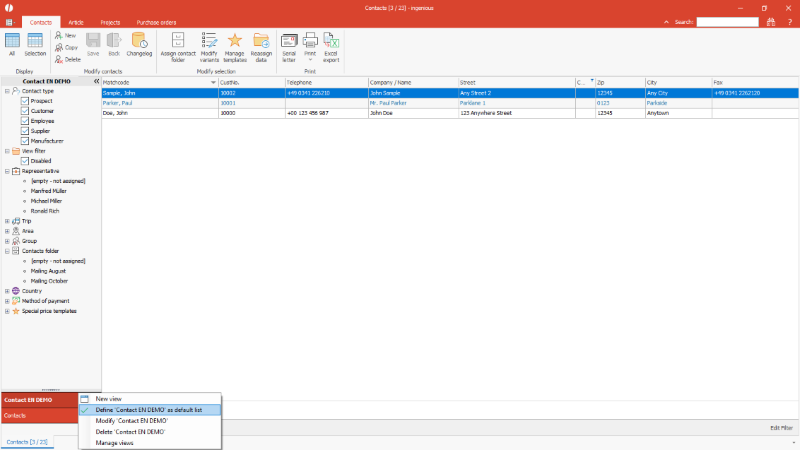 |
| Define list view as default list |
The list views offer additional possibilities to isolate data records. The shown data records can be grouped by the single fields. With right click on the needed column you can choose “Group by this column from the menu.
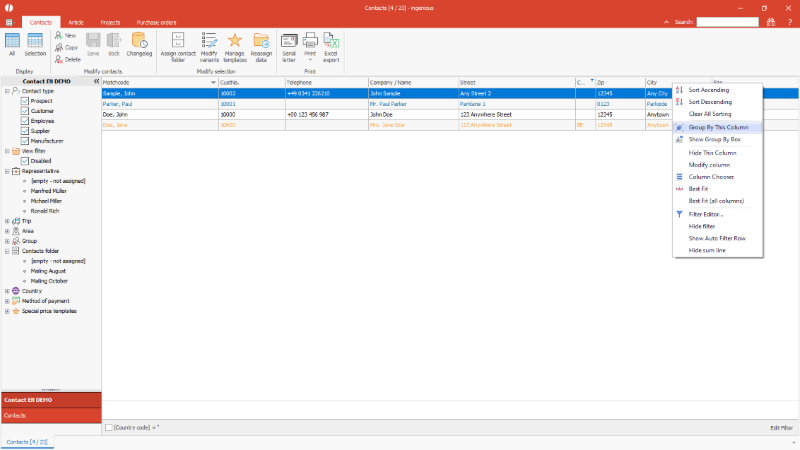 |
| Group data records in list view by single column |
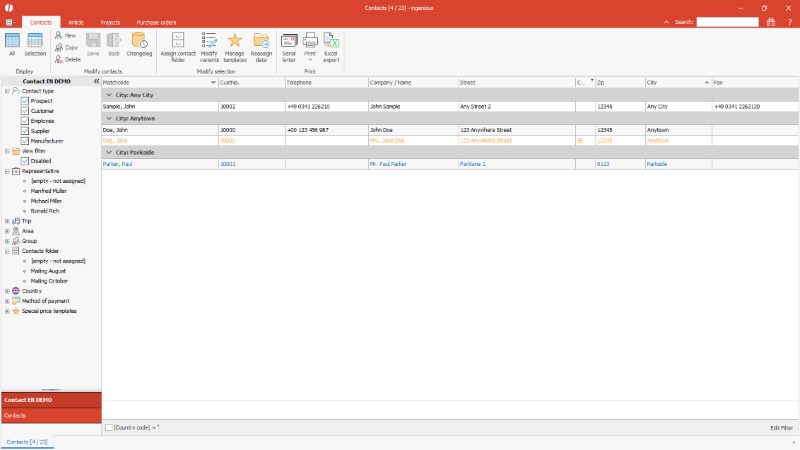 |
| Grouped list view |
Beside the quick default filters within the selection area also complex integrated filters can be used. These will be applied directly for the preselected data records.
Modify complex filters
With right click on the list header the “Filter editor” can be selected. Within the appearing window every field of the module can be filtered for. The filter can be compossed with predefined operators. Different filters can be combine here. Additional filter lines will be added with the “+”.
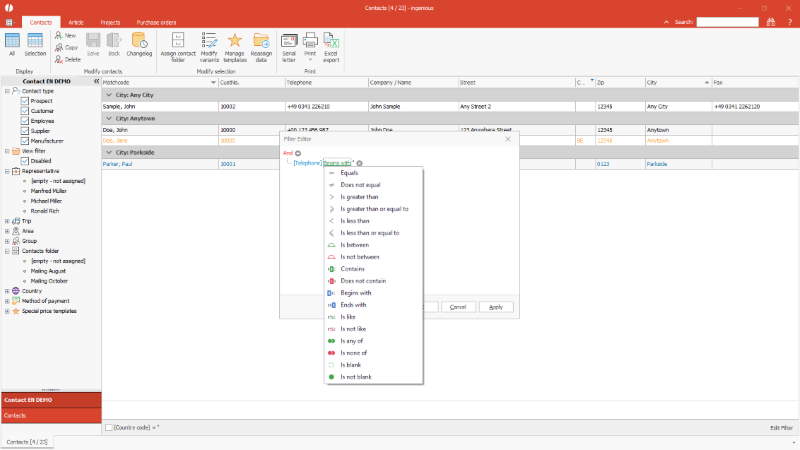 |
| Modify complex filters |
The defined filter can be modified again at any time or it can be deactivated.
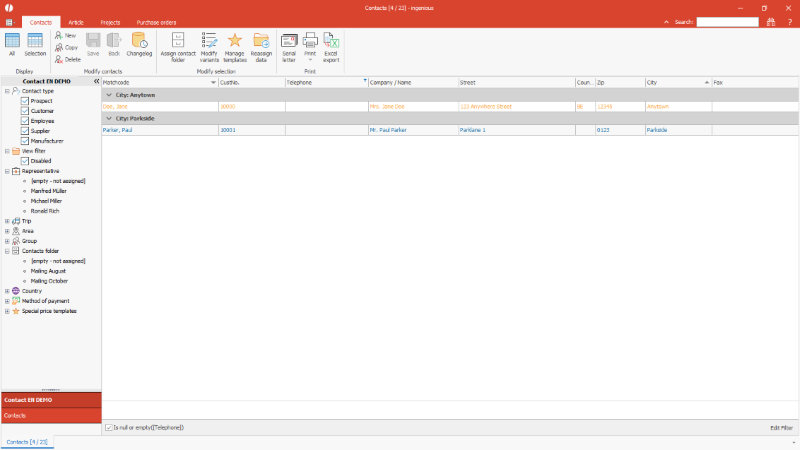 |
| Activation / deactivation of a filter |
2. Auto filter row
With right click on the list header a auto filter row can be displayed, within you can filter for single columns.
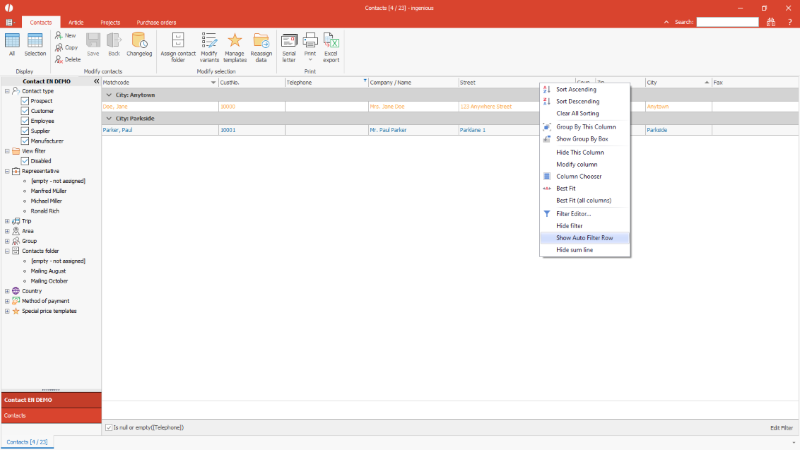 |
| Show auto filter row |
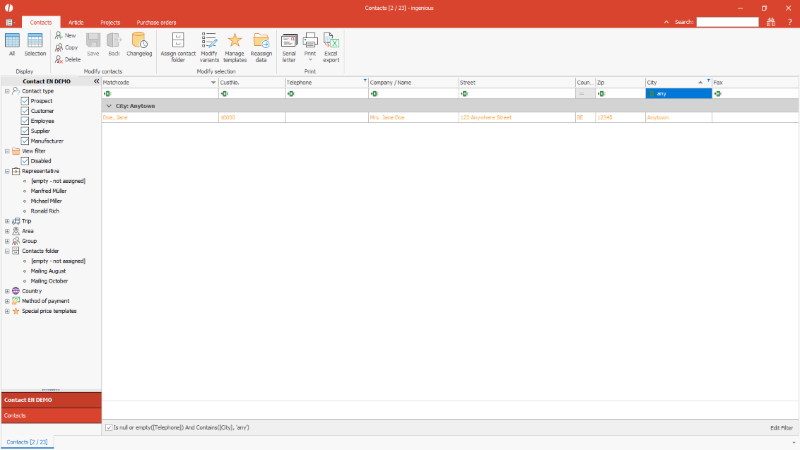 |
| Auto filter row |
Copy list views for other users
Each user can design the list views of the modules in the way he needs for his work. He can choose the displayed columns/fields and can change the formatting as he like.
If different users should get the same view, this can be configured in the list view administration.
This list view administration can be opened by right click the mouse on an existing list view of the active module.
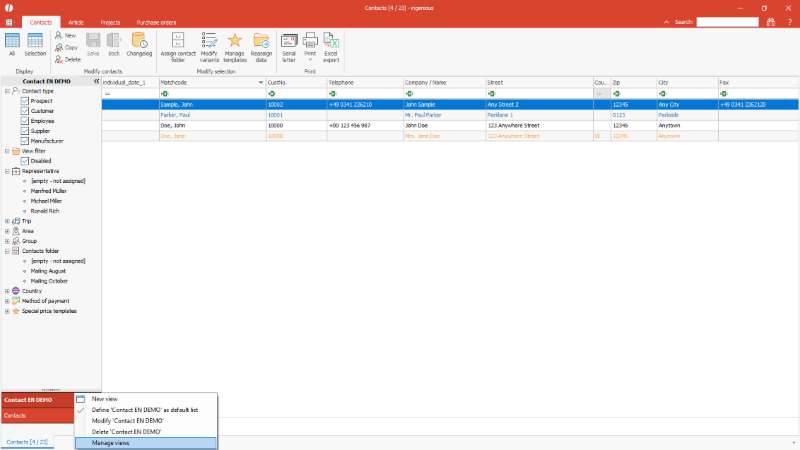 |
| Opening the list view administration |
In the appearing windows the lists can be dragged from one user to another. The original user keeps its list view, the view is copied for the new user.
Default lists are identified by a green bullet, all other lists are grey. A view can be deleted from one user by doubleclick on the name of the list.
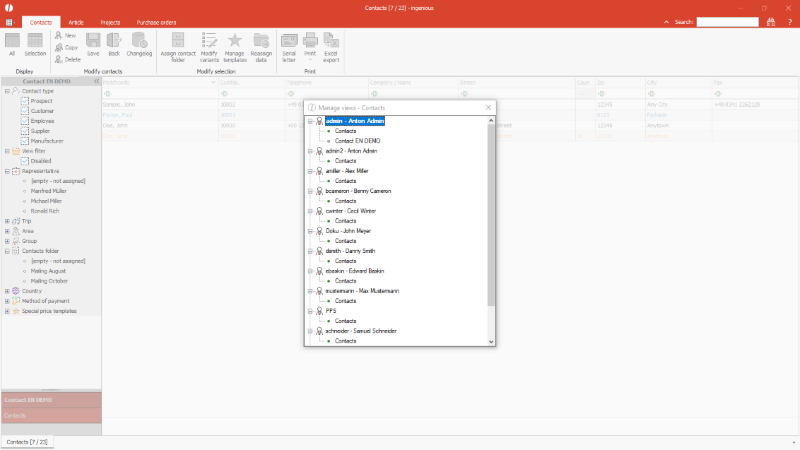 |
| Copying list views for other users |
Buttons on main modules lists
The content of all database fields are basically only changeable in the single detail views. In list views usually the values only are displayed.
In the main modules contacts, Articles, projects and purchase orders can values be set by button click via scripts, e.g. a date with a calendar, a predefined text by selection list or similar. Also other actions are possible, that shall be executed by button.
For the integration of a button, a new script is to be created for the list of the desired module in the script administration within the method “ButtonClicked”.
Download Script “Button clicked”
| Example script for a button in the contact list |
The example script lets the user set the individual date 1 via button.
To use the button in a list view, the connected field has to be displayed in the list view. It has to be added to the list from the column selection. With right click on the column header and selection of the option “modify column” the column properties will be opened. For editor “Button” has to be chosen.
By hovering over a button cell, the button is displayed, with that the action defined in the script can be executed. In the example a calendar is opened to select a date.
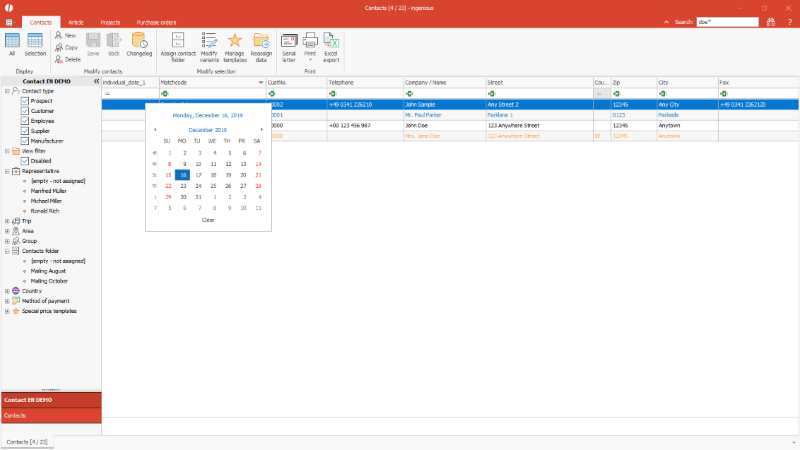 |
| Set a date by button |

